Adding multiple IP’s to one physical NIC is surprisingly simple with Windows. This guide was done on a machine running Windows 7, but translates easily to Server Editions as well. I’d love to show you what it looks like on Windows XP, but I don’t seem to have any media handy to install it. Here’s how to assign multiple IP addresses to the same NIC in Windows 7 – let’s jump into it.
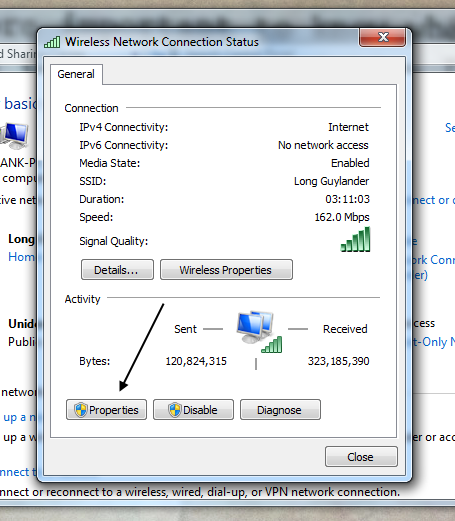
First access the properties of your NIC, then click on the IPV4 protocol and click properties.
Now select the IPV4 protocol because I suck and have been lazy in learning IPV6, and click properties again.
Now you simply fill in the IP address, correct netmask, gateway, and DNS server settings if necessary – and that’s it, you’ve successfully created a virtual IP address on Microsoft Windows 7
It’s worth noting that on Microsoft Server Editions, the process is essentially the same, except there’s literally a button that says “Additional IP’s.” Both methods essentially achieve the same thing, it’s just that Microsoft Home Editions don’t support adding anything beyond a /30, while Microsoft Server Editions will let you add as many IP addresses as your allocation provides.


0 Remarks:
Post a Comment